Uploading Your Lots to K-BID
Once your catalog is finished in Lot Lingo, getting it onto K-BID takes two downloads and one upload session in the K-BID admin:
- Lot data — a K-BID-formatted, tab-delimited file with every title, description, lot number, and consignor code.
- Images — a ZIP of photos named by lot and photo order, sized for K-BID.
Before you export: give every lot a K-BID-valid lot number — a number from 1 to 9999, with up to two letters before or after (105, A105, 105B). Lot Lingo checks this for you as you type.
Part 1 — Export from Lot Lingo
Worth a quick pass before you export: confirm consignor codes are set on every lot (they ride along in the file for clean settlement), and use the bulk tools to fill any missing locations or categories in one step rather than lot by lot.
Export the lot file
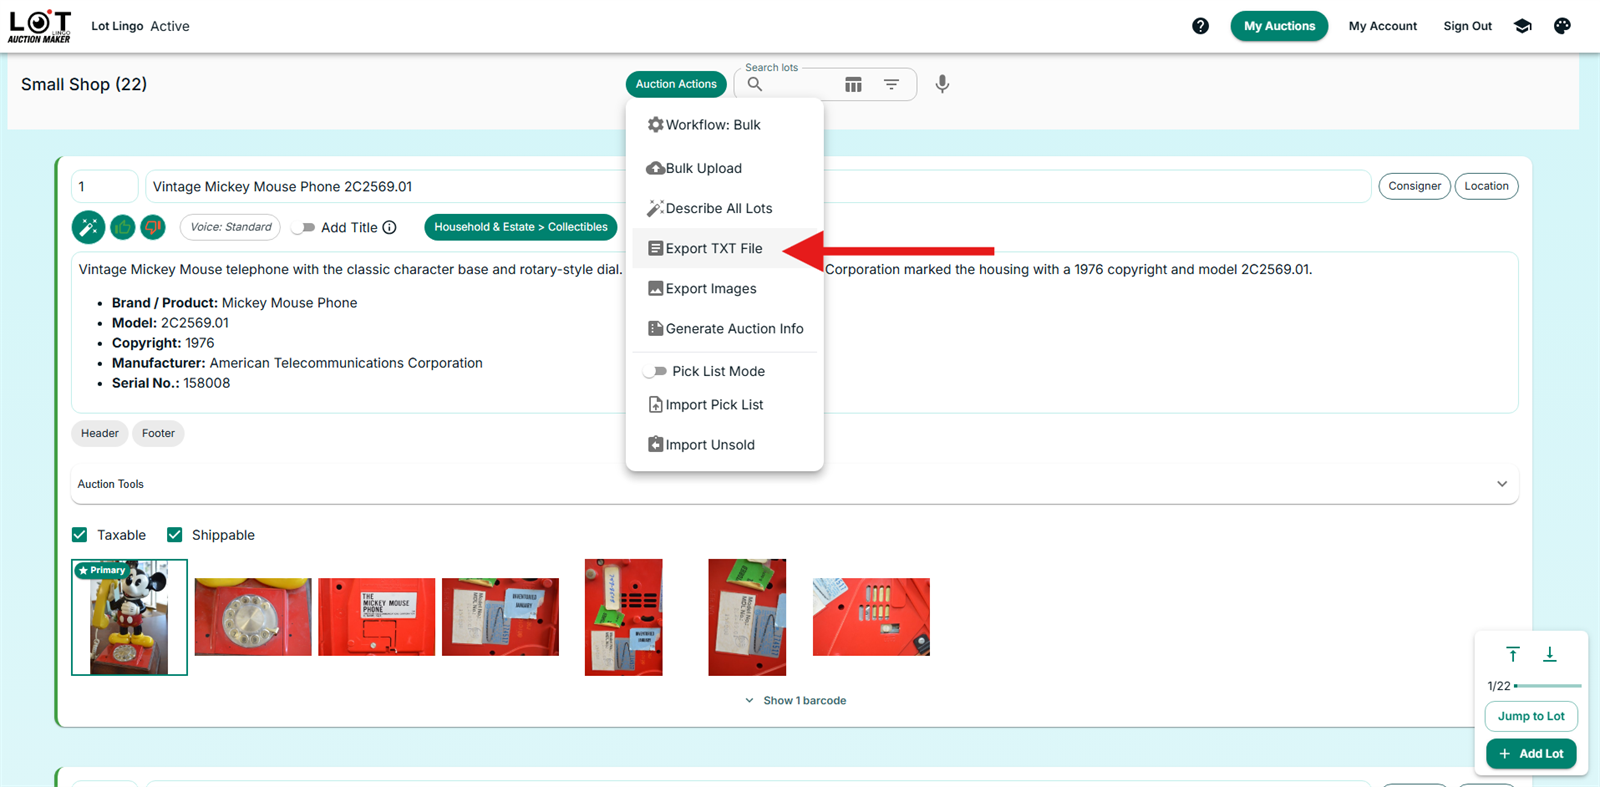
In Lot Lingo, open your auction and use Auction Actions → Export TXT File to download the K-BID lot file.
Export the photos
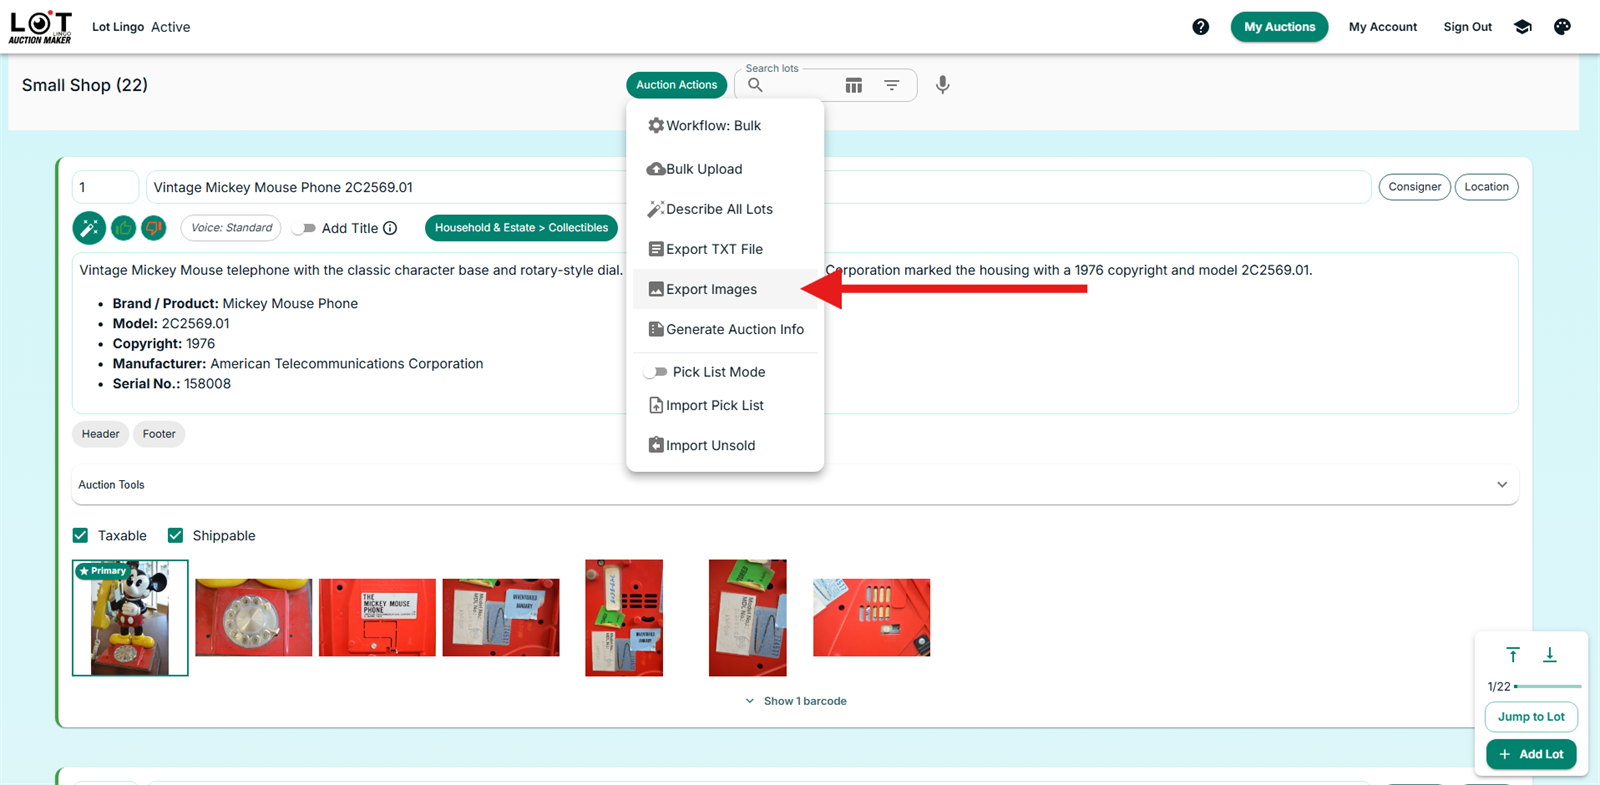
In the same menu, choose Auction Actions → Export Images. The ZIP is built in the background — keep working while it runs.
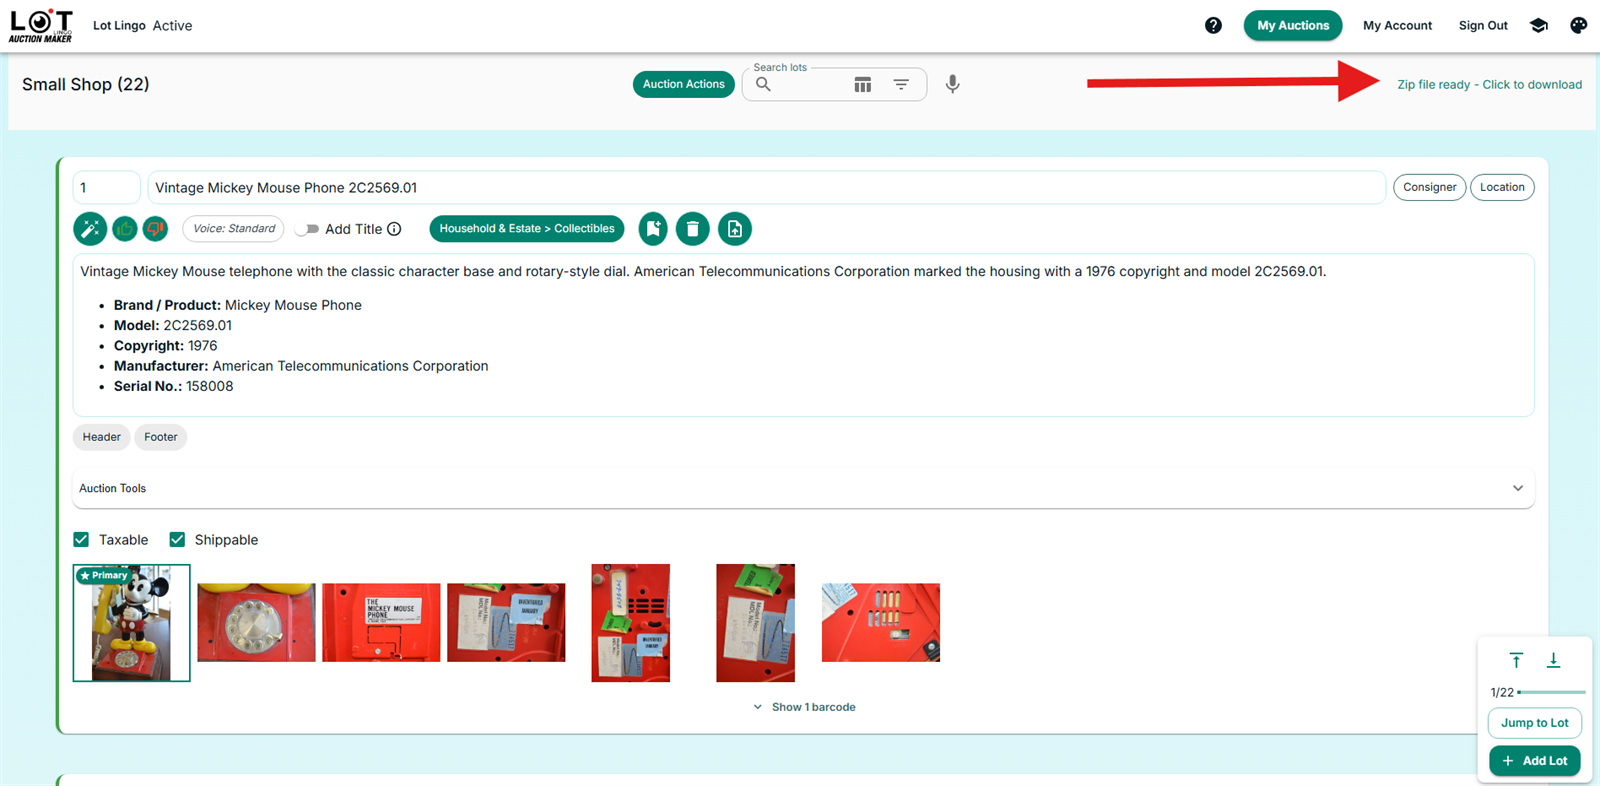
When it finishes, a Zip file ready — Click to download link appears at the top of the auction. Click it to download the ZIP. The files inside are named by lot and photo order (12-1.jpeg, 12-2.jpeg) and sized for K-BID, so there is nothing to rename or resize.
Prepare the Photo Folder (Windows)
K-BID's uploader takes individual image files, not the ZIP itself — so extract it first:
1. Find the downloaded ZIP (for example YourAuctionImages.zip).
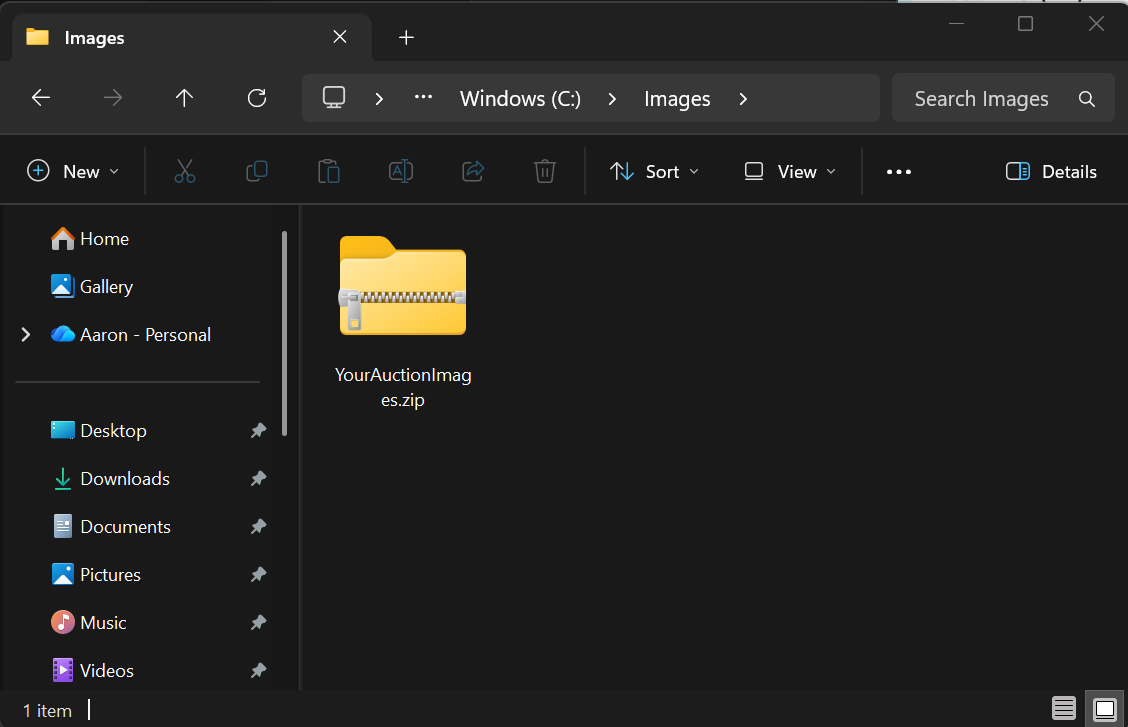
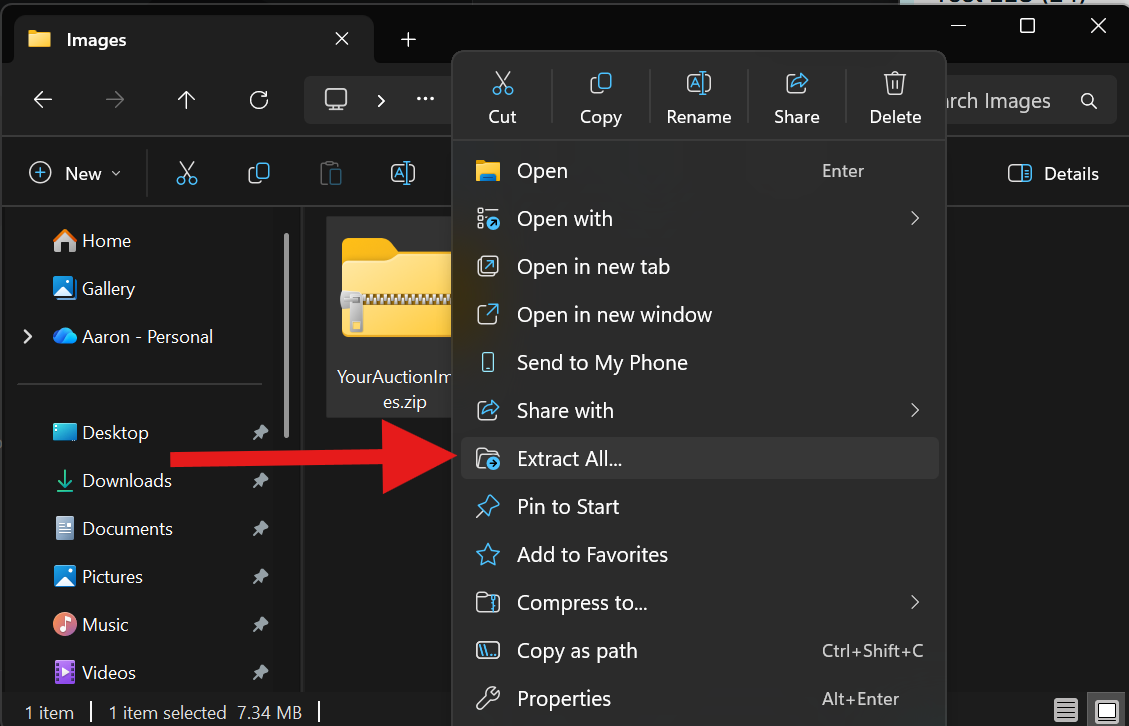
2. Right-click it and choose Extract All… from the menu.
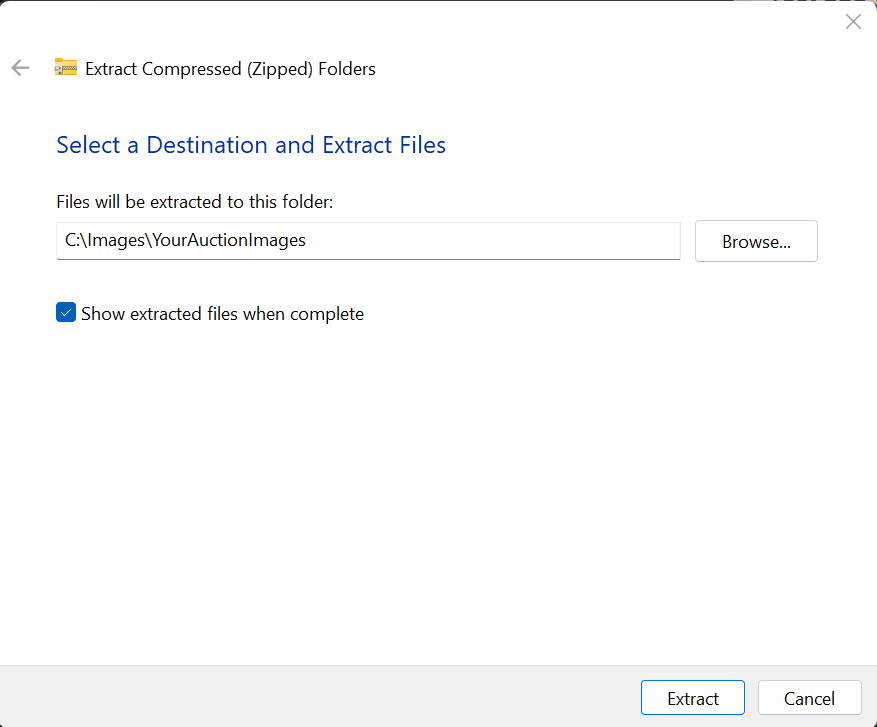
3. Pick a folder to extract to (for example C:\Images\YourAuctionImages) and click Extract.
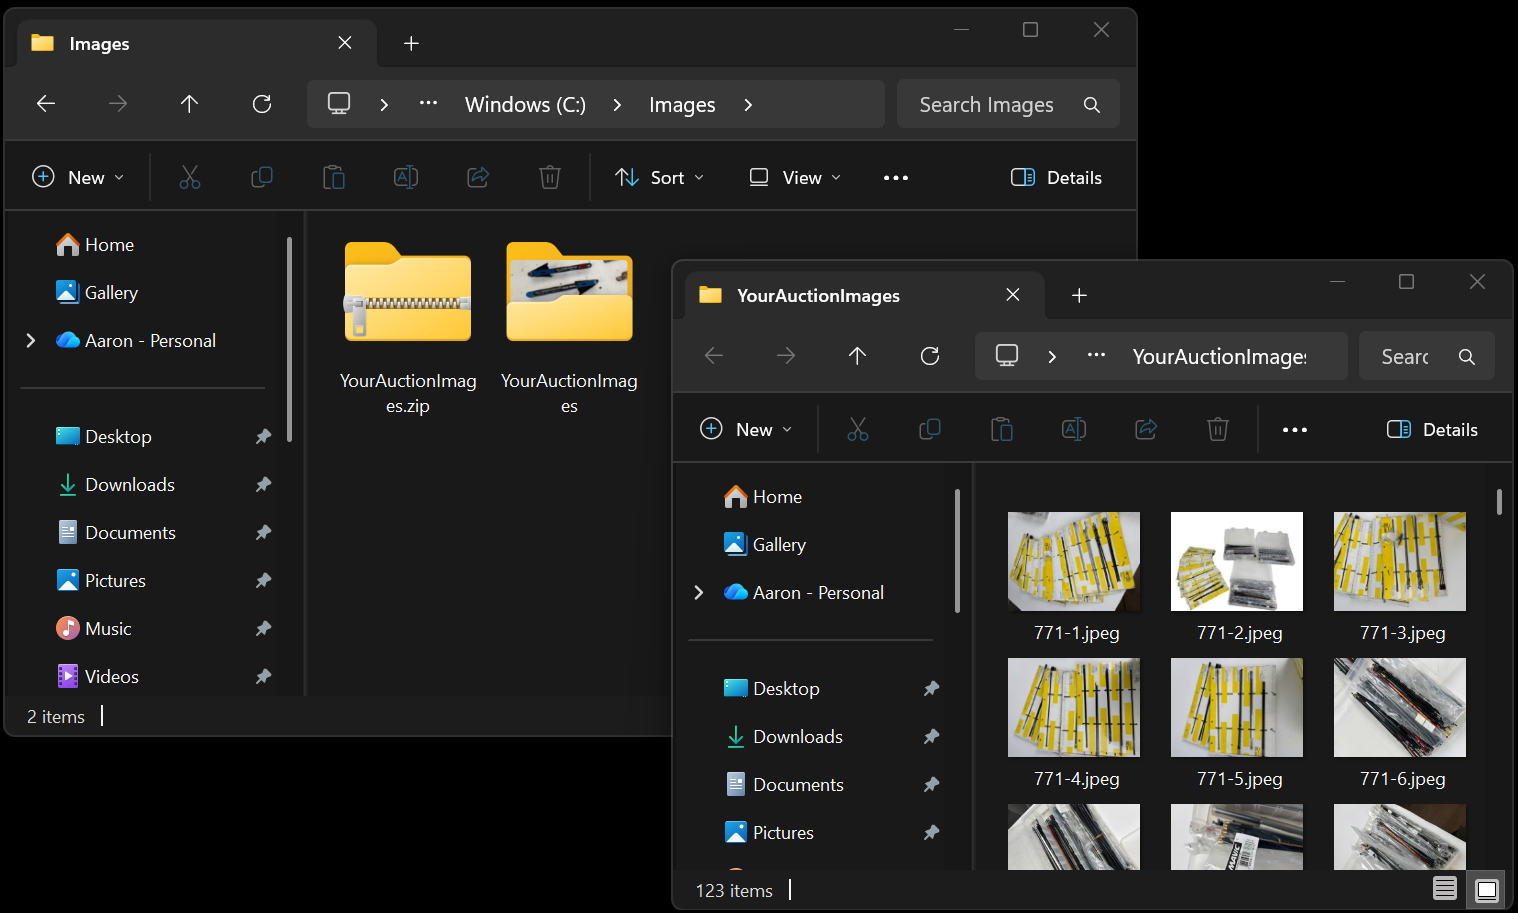
4. Confirm the photos extracted and are named like 12-1.jpeg, 12-2.jpeg.
Large auctions. If your auction has more than 1,000 images, Lot Lingo splits the photos into numbered subfolders with up to 1,000 images each. When you see folders like this, run the upload steps in Part 3 once per folder.
Part 2 — Upload in the K-BID Admin
Step 1 — Open Import Lots
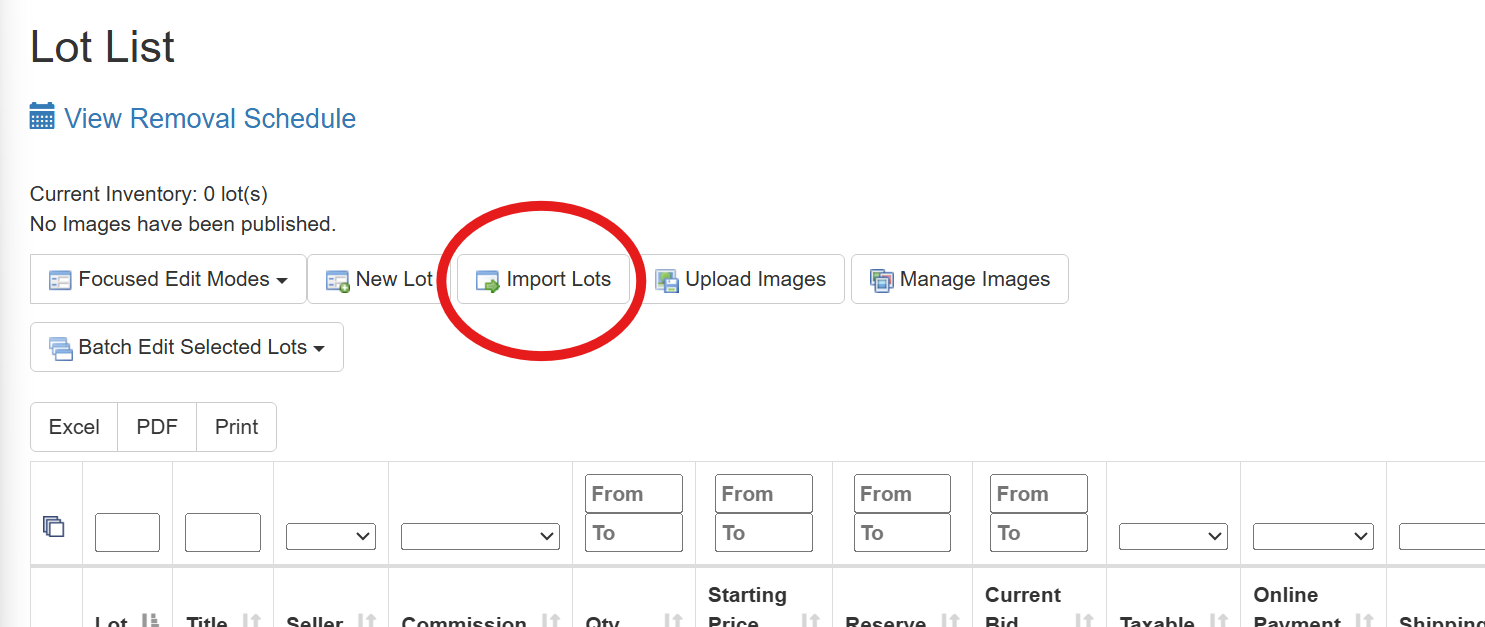
Sign in to your K-BID affiliate admin and open your auction's Lot List page. Click Import Lots in the button row above the inventory table.
Step 2 — Choose the exported file
Select the TXT file you exported in Part 1 and run the import. There's no field mapping to configure — the file is already in K-BID's format.
Step 3 — Confirm the import
K-BID shows an "Import completed" banner when the lots are in.
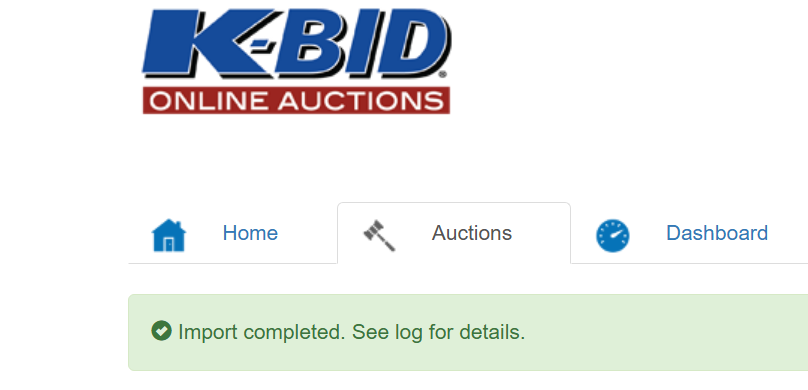
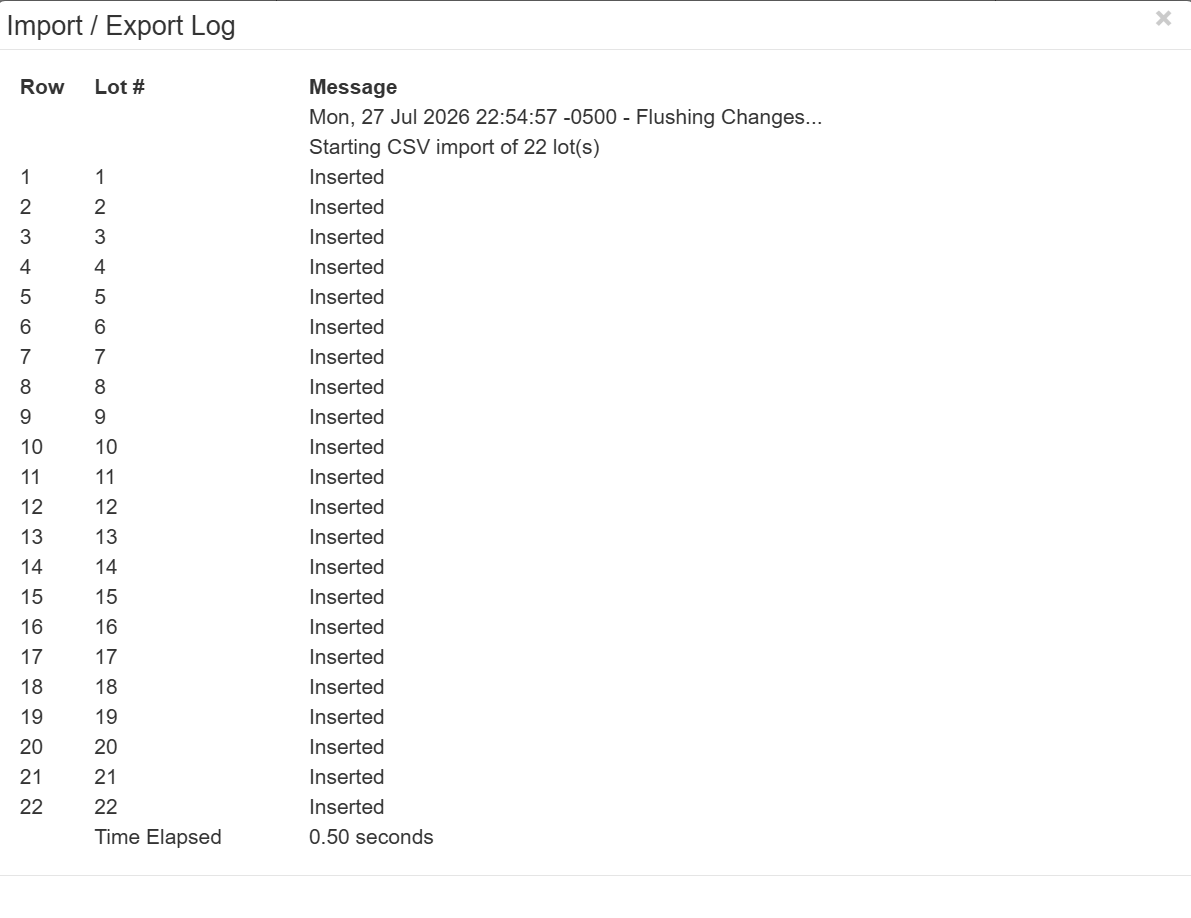
The Import / Export Log it references shows a row-by-row result — a clean import reads "Inserted" on every row with your lot count at the top. (The log calls it a "CSV import" whatever the file type — that's just K-BID's generic label, not a sign you exported the wrong format.) Any row that didn't land is called out here, which is the first place to look if the imported count is short.
Step 4 — Verify the lot list
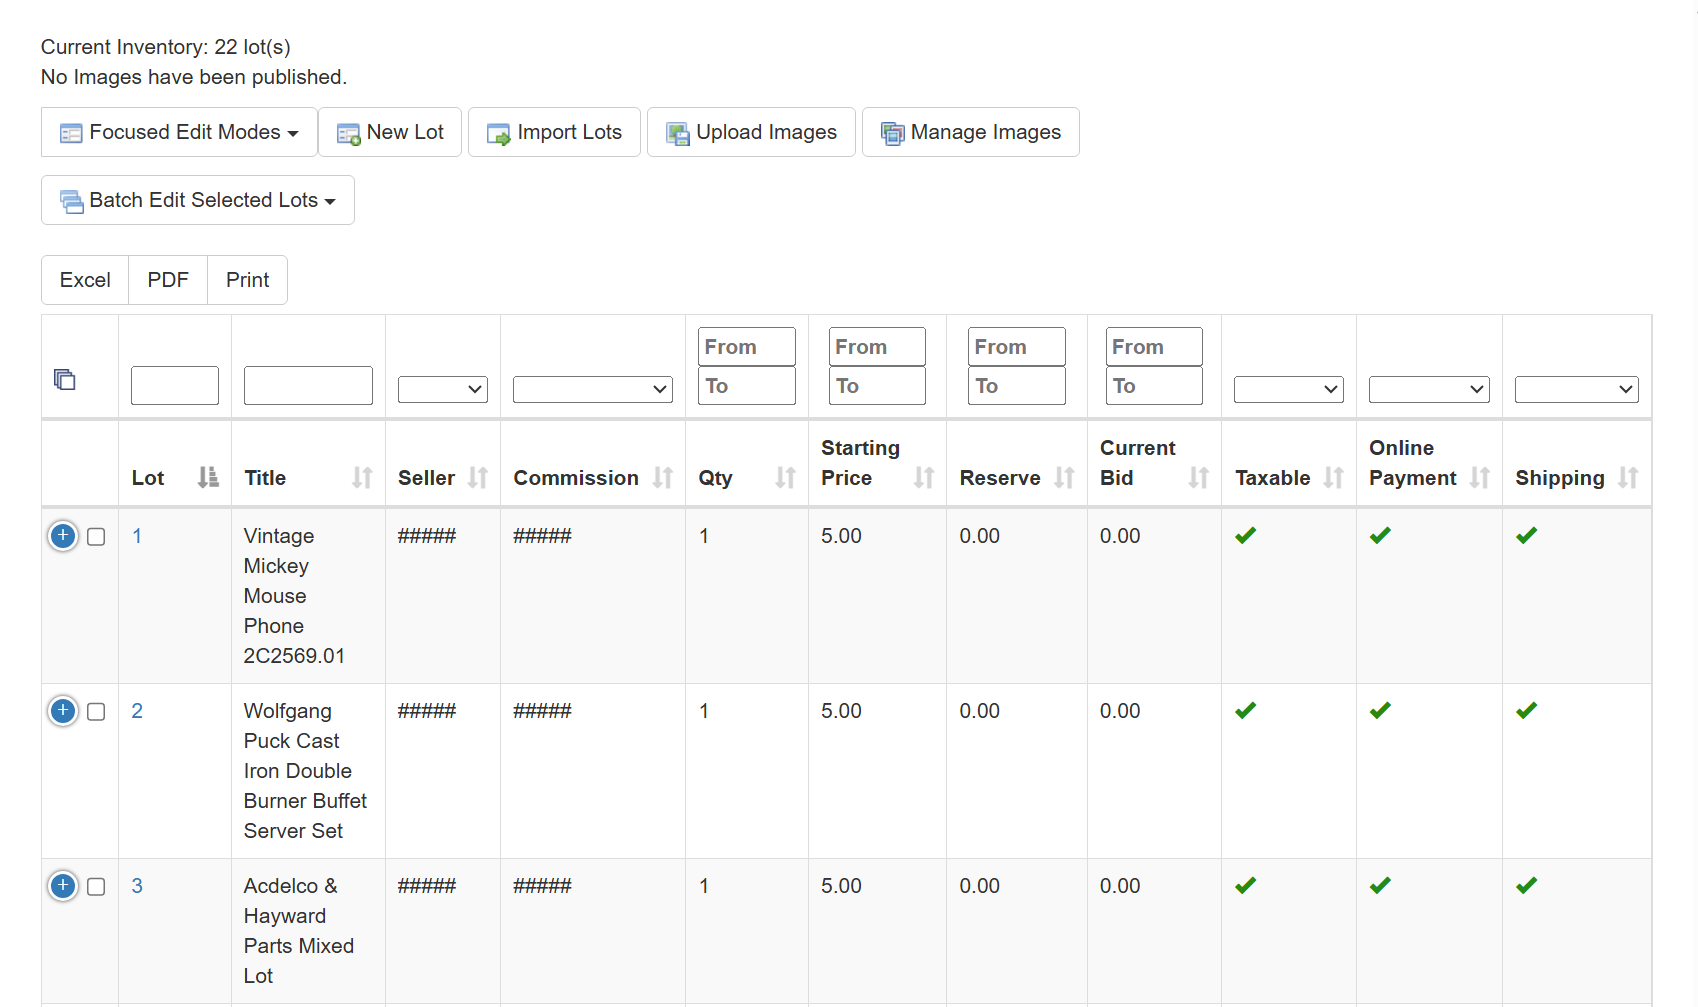
Back on the Lot List page, the Current Inventory count should match your catalog, with every title and lot number exactly as reviewed in Lot Lingo.
Part 3 — Upload and Attach the Photos
Step 1 — Open Upload Images
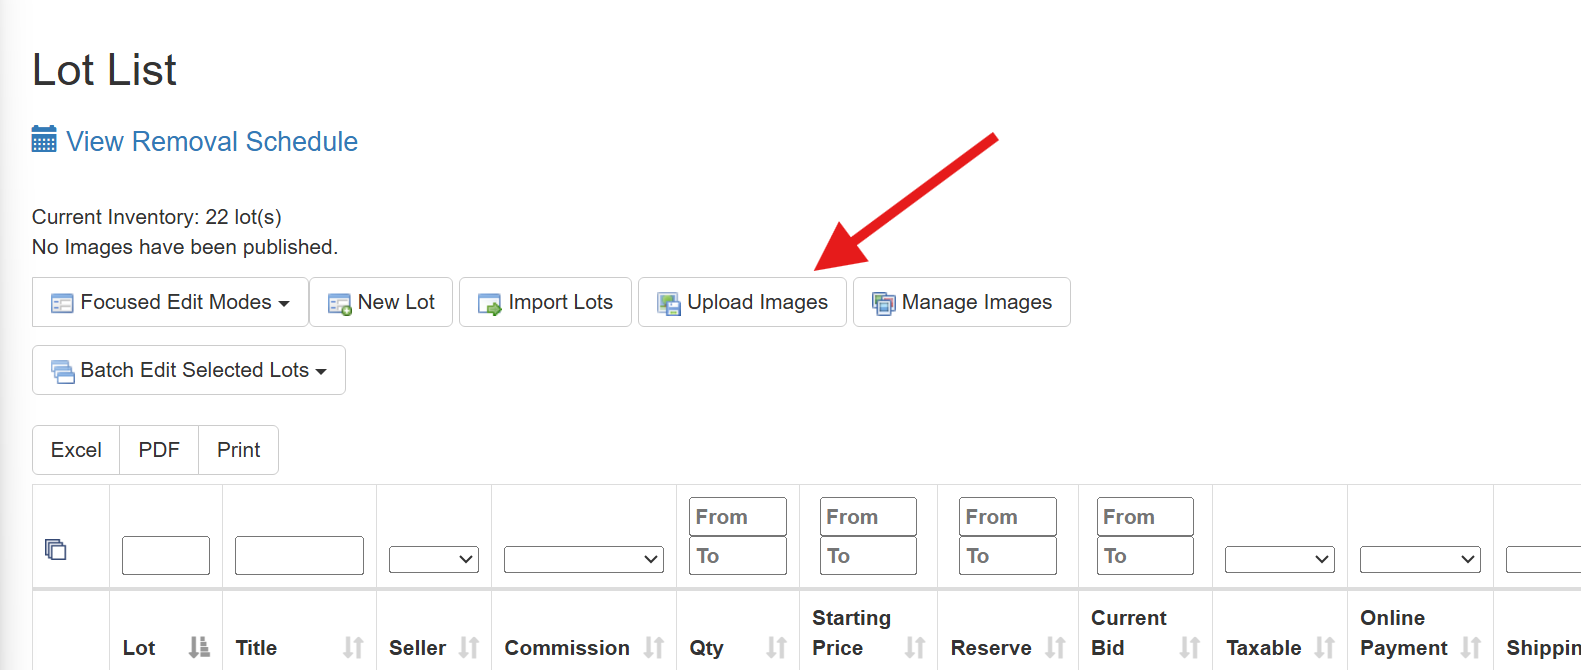
Back on the Lot List page, click Upload Images — it sits right next to Import Lots on the same button row.
Step 2 — Add the extracted photos
On the Upload Images screen, drag the photos from your extracted folder into the page, or click Add Files and select them all.
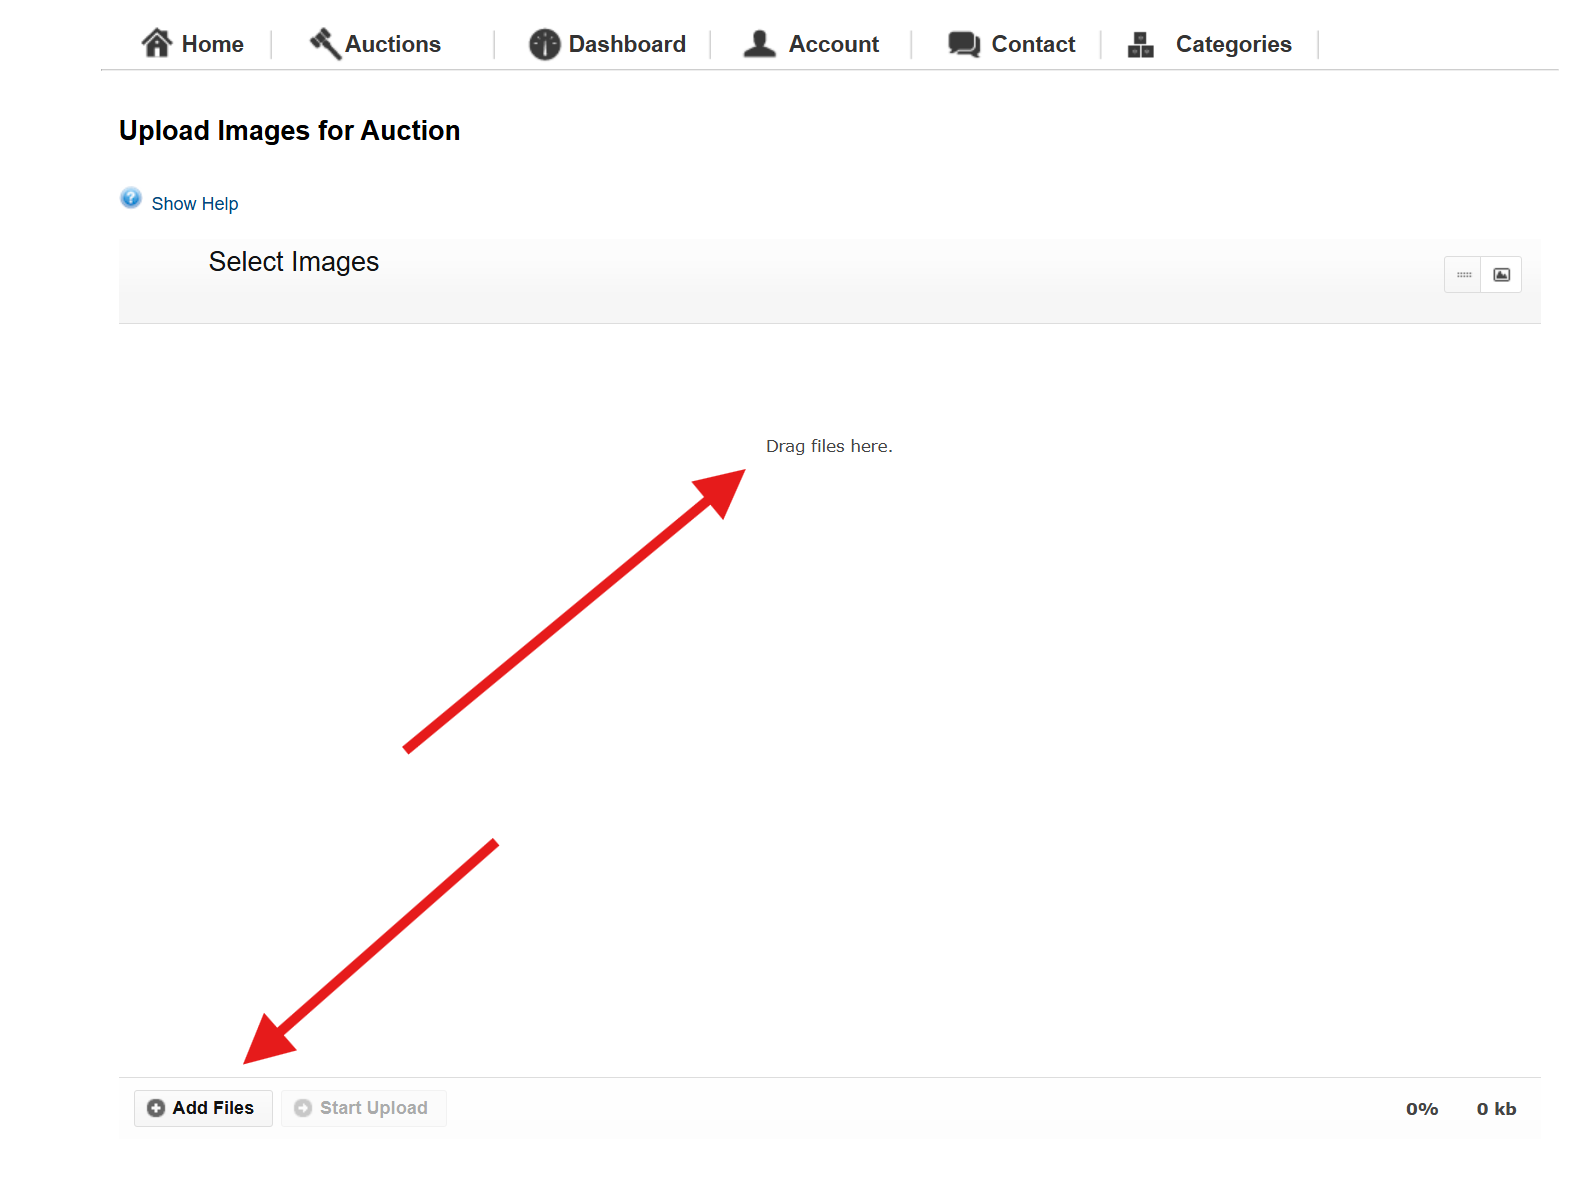
Step 3 — Start Upload
The thumbnails appear with a queued count at the bottom. Click Start Upload to send them.
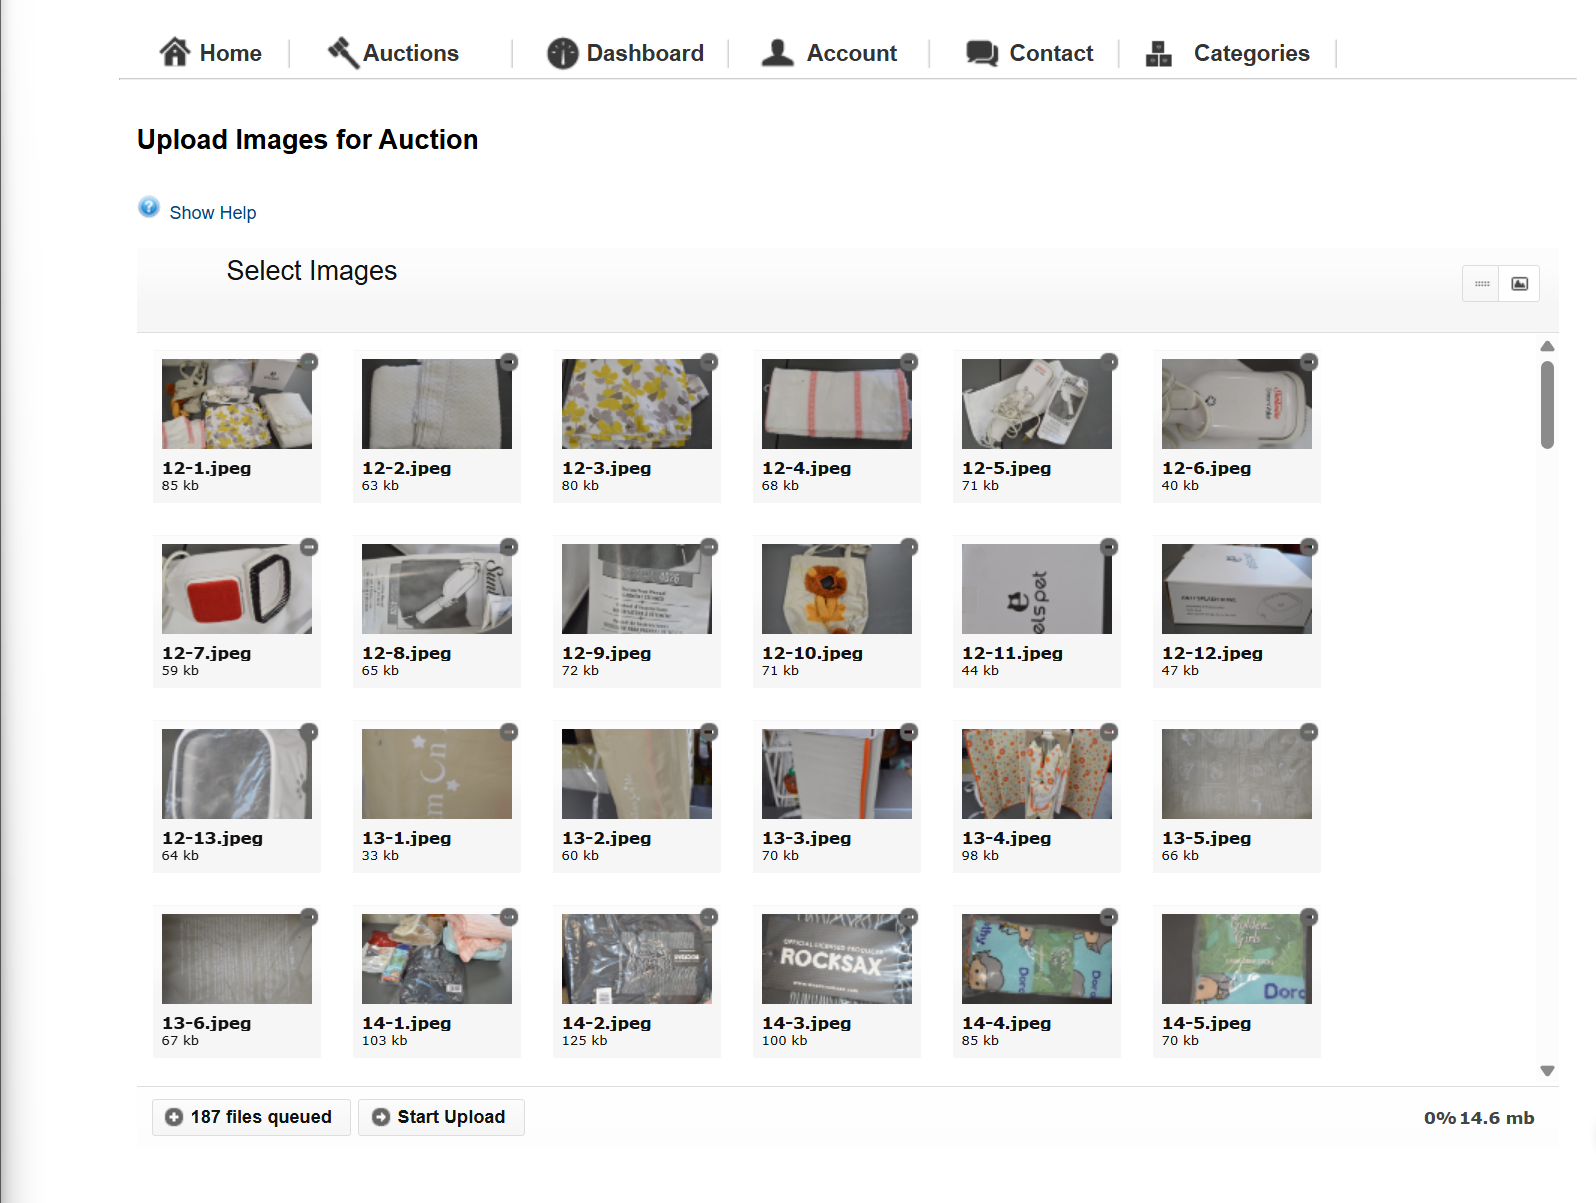
Step 4 — Open Manage Images
When the progress indicator reaches 100%, click Manage Images to move to the review screen.
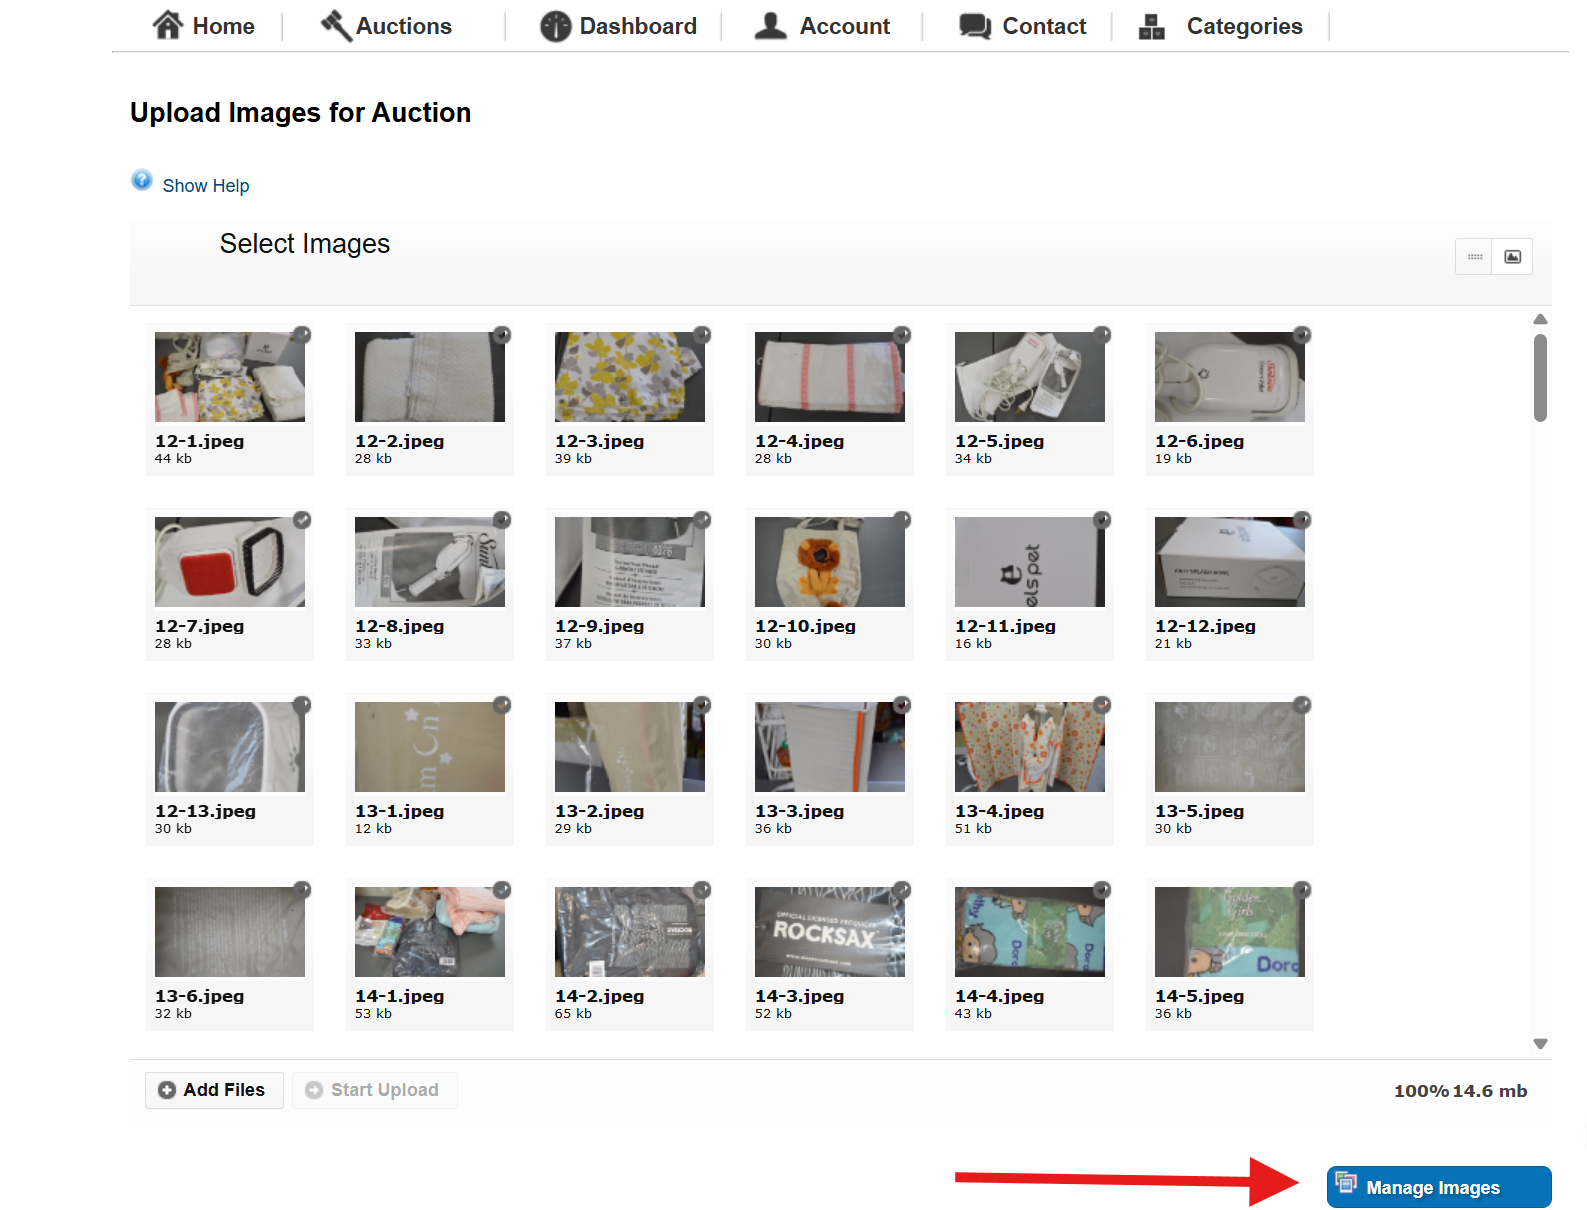
Step 5 — Review and Save
Manage Images shows every photo grouped under its lot — because the filenames carry your lot numbers, lot 12's photos land on lot 12 with no manual matching. Confirm the header says all your lots have images assigned, then click Save.
Don't skip Save. The photos are not attached to the auction until you click Save on this screen — that's what runs the final commit.
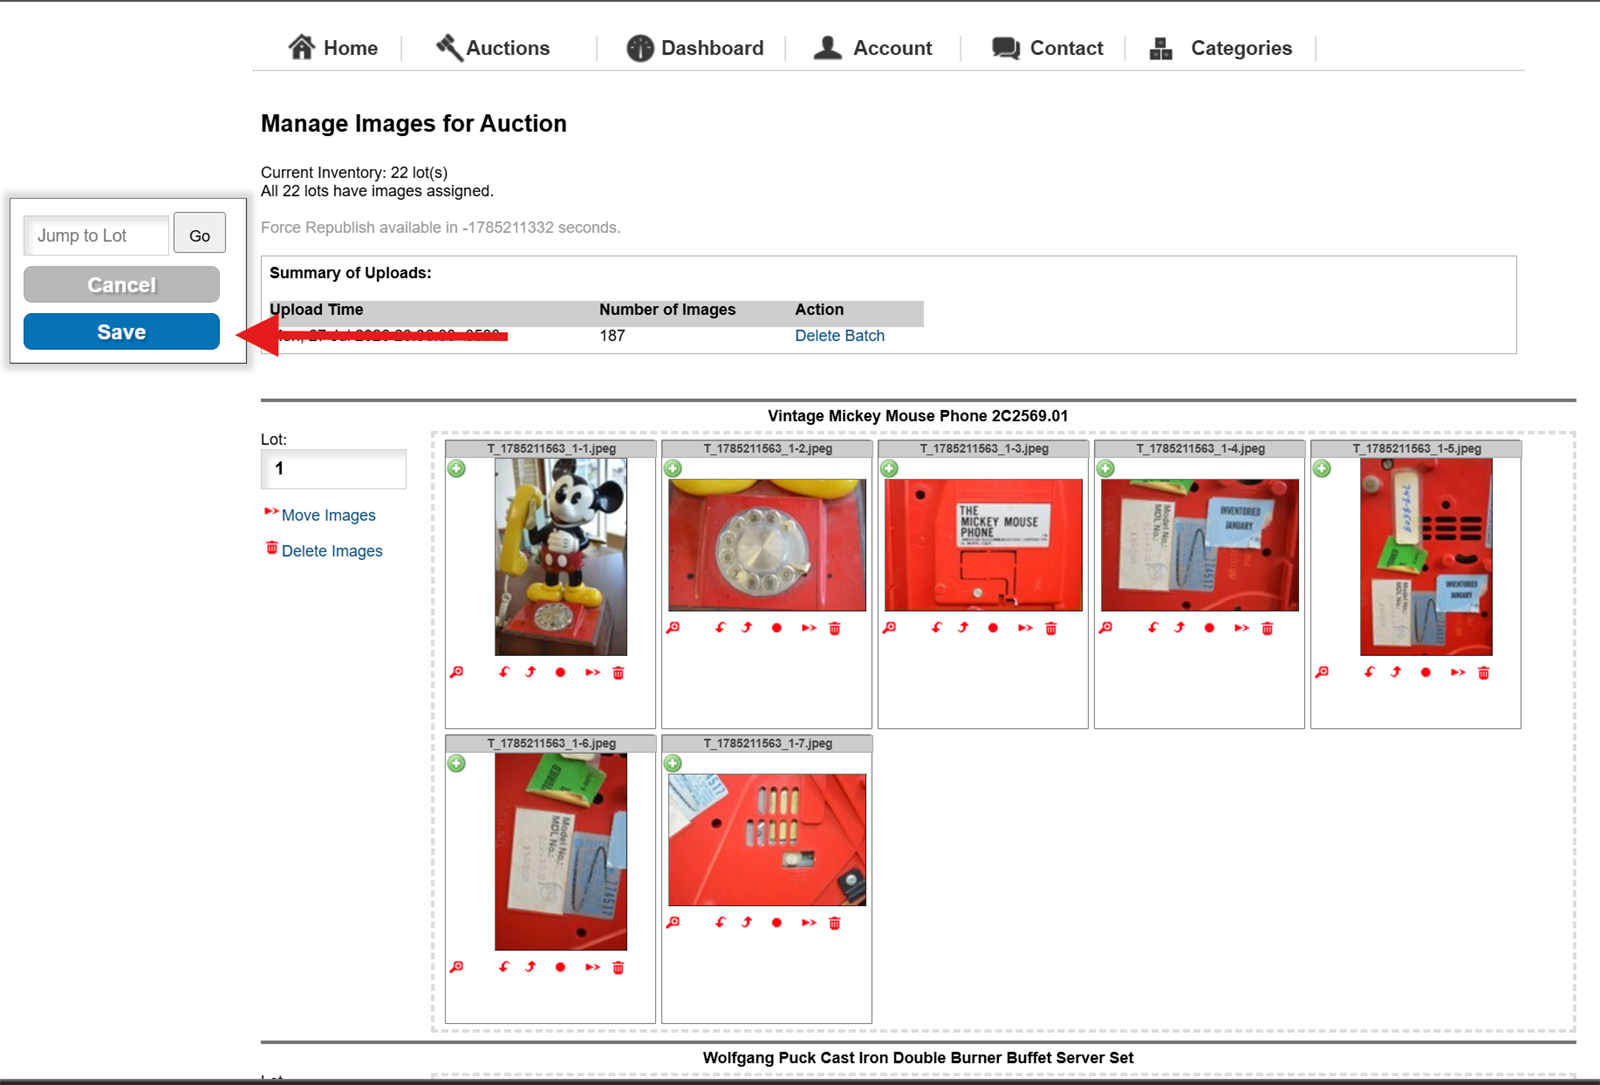
Building the Catalog Faster
The upload is the easy part — the cataloging is where the hours go. Lot Lingo's Auction Maker drafts every K-BID title and description from your lot photos, bulk-edits lot numbers and categories, and keeps consignor codes attached from intake to export. See how it fits your sale on the K-BID sellers page, or read the companion guides on writing lot descriptions and auction photography.
Tips & troubleshooting
- What format is the K-BID export?
- Two downloads: a tab-delimited lot file with your titles, descriptions, lot numbers, and consignor codes, and a ZIP of photos named by lot and photo order (for example 12-1.jpeg, 12-2.jpeg). Both are formatted the way K-BID expects.
- How should lot numbers be formatted for K-BID?
- A number between 1 and 9999, with up to two letters before or after it (for example 105, A105, or 105B). Lot Lingo validates this as you catalog, so an invalid number is caught before export, not after upload.
- How do photos match up with the right lots?
- Each photo is named {lot}-{number}.jpeg — 12-1.jpeg is lot 12, first photo. The photos are also sized and padded for K-BID automatically, so what you shot is what bidders see, cleanly framed.
- The import finished but some lots are missing. Where do I look?
- Open the Import / Export Log that the "Import completed" banner references. It lists every row with its result — a clean import shows "Inserted" for each lot. Any row that failed is called out there; fix that lot in Lot Lingo, re-export, and import the fresh file.
- My photos uploaded to 100% but are not on the auction. Why?
- The upload alone does not attach them — after it reaches 100%, open Manage Images, verify the photos landed on the right lots, and click Save. Save is what commits the photos to the auction.
- What happens if I upload images twice — replace or append?
- Uploads append. Re-uploading the same photos gives every lot duplicates, so if you are replacing a bad batch, remove the old one first: the Manage Images screen lists each upload under Summary of Uploads with a Delete Batch action. Delete the old batch, upload the fresh photos, and Save.
- I fixed something in Lot Lingo after exporting. What now?
- Just export again. The export always reflects the current state of your catalog, so edit the lot in Lot Lingo, re-export, and upload the fresh file.